


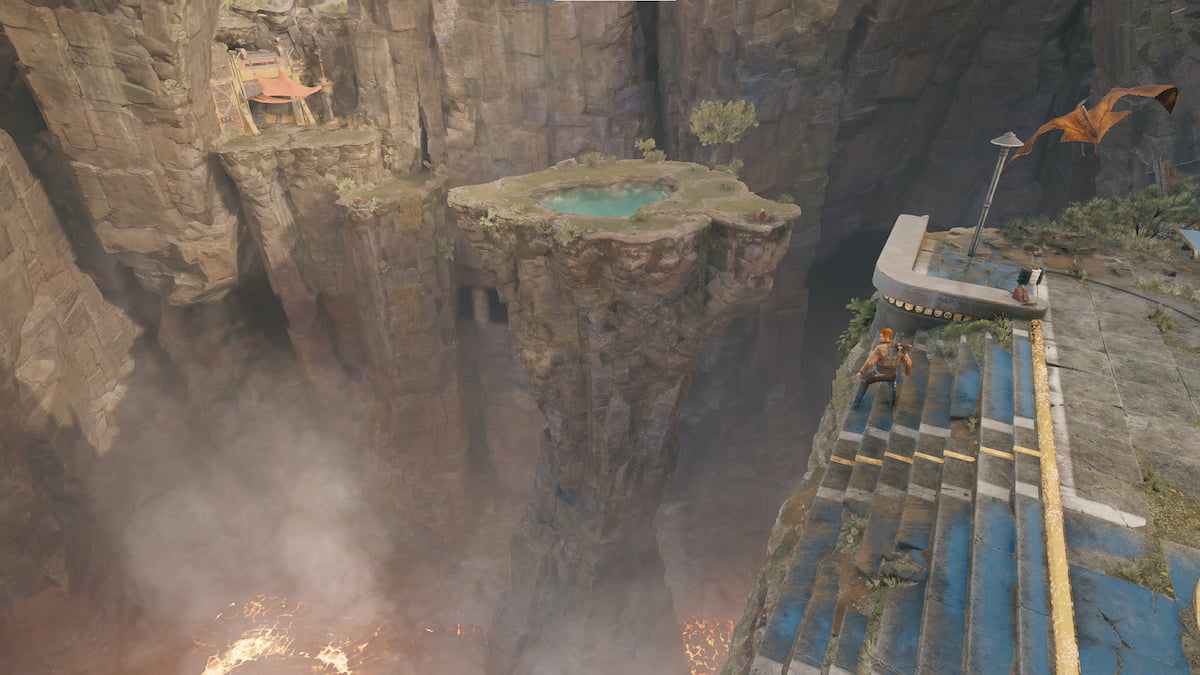
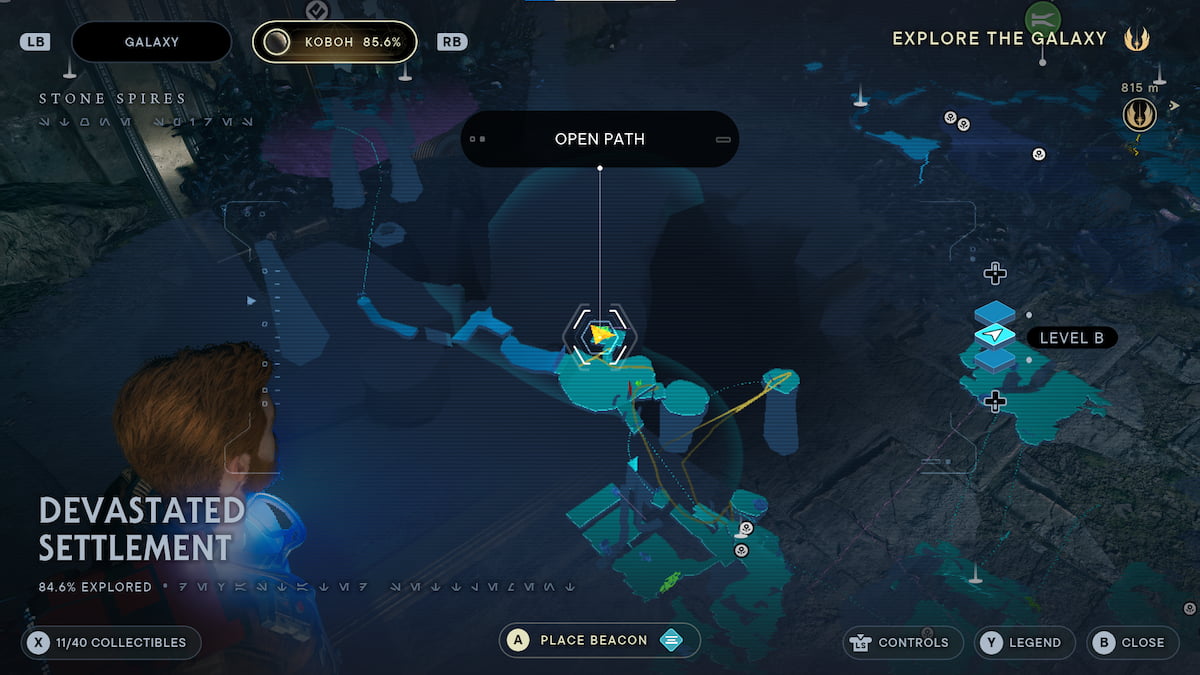
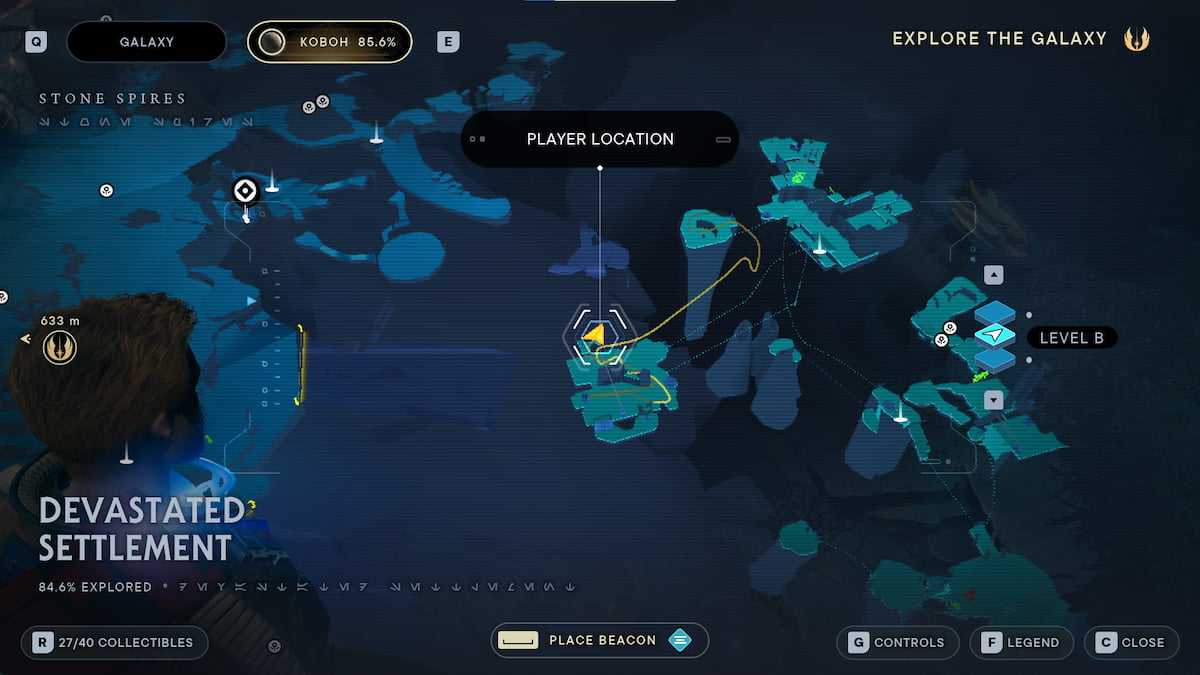
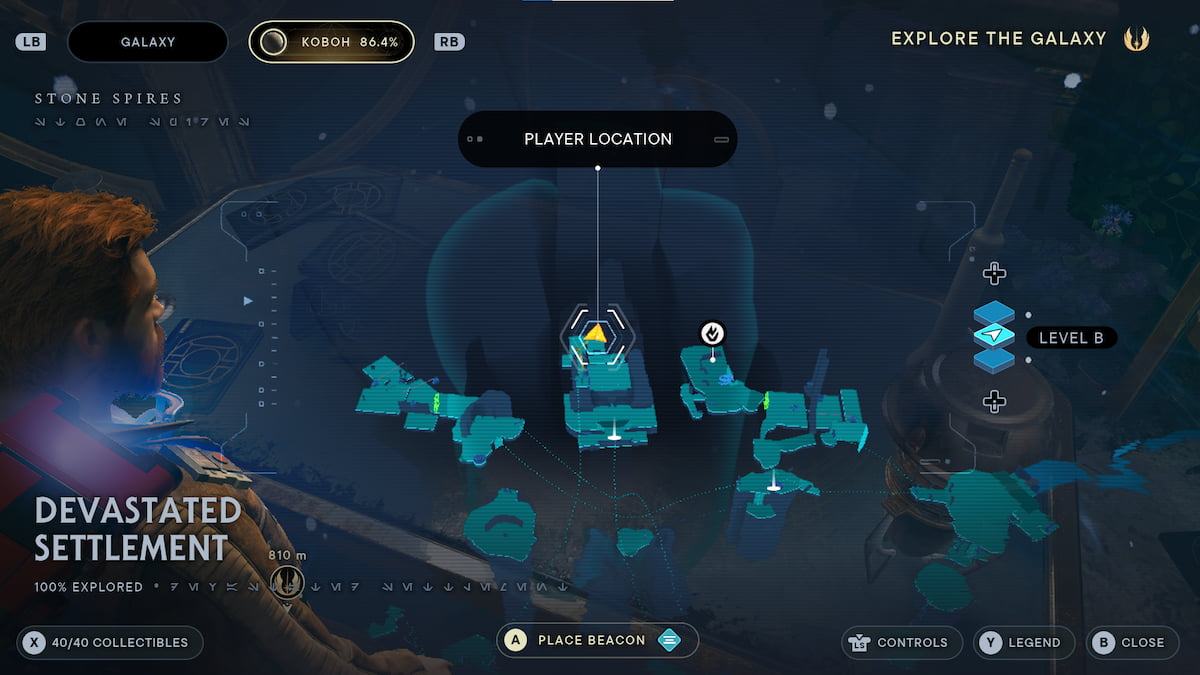
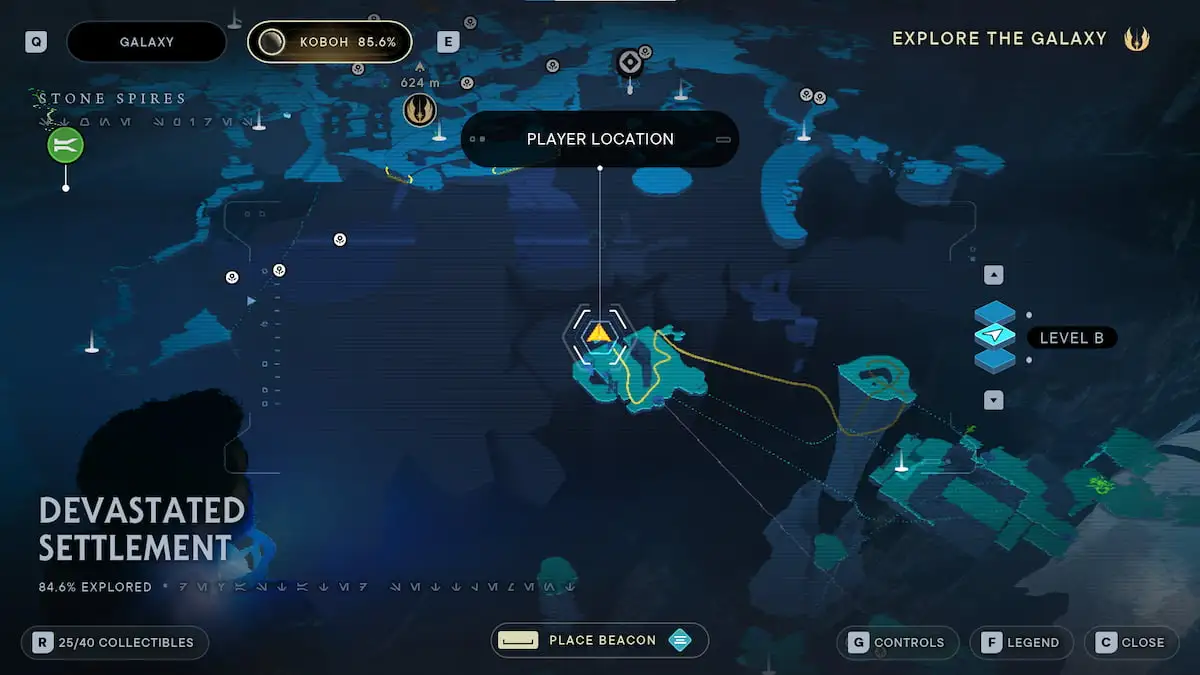
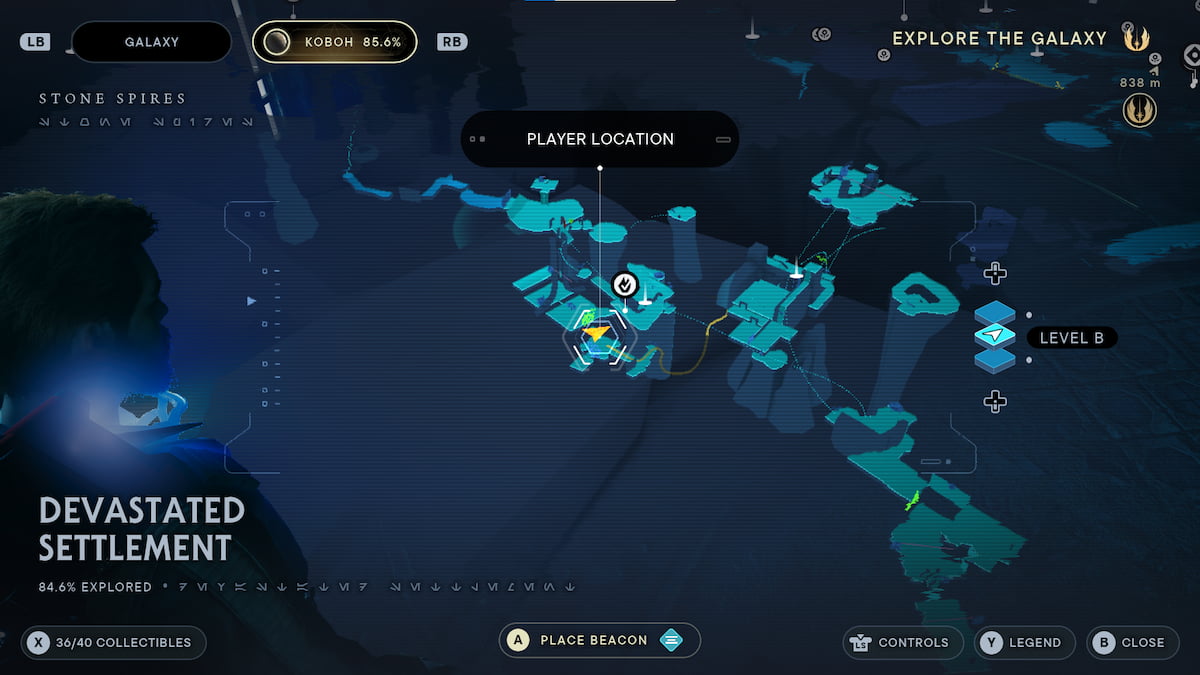
The Devastated Settlement in Star Wars Jedi: Survivor is without doubt one of the bigger places so that you can discover. You’ll want to analyze it to study extra concerning the former Excessive Republic Jedi, Dagan. After you’ve performed that, you may return to this space to uncover the opposite mysteries surrounding it.
One of many more durable issues to trace down on this space is the collectibles. You’ll must find dozens of things, they usually’re scattered all through this area. This information covers how you can discover all Devastated Settlement Collectibles in Star Wars Jedi: Survivor.
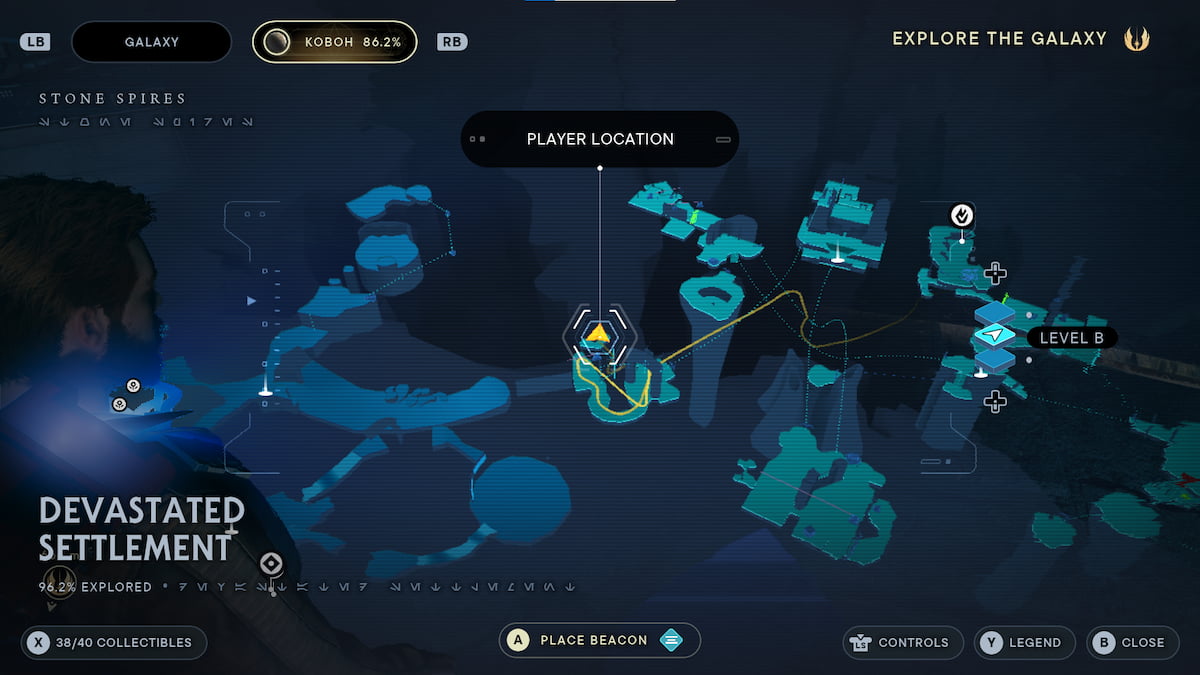
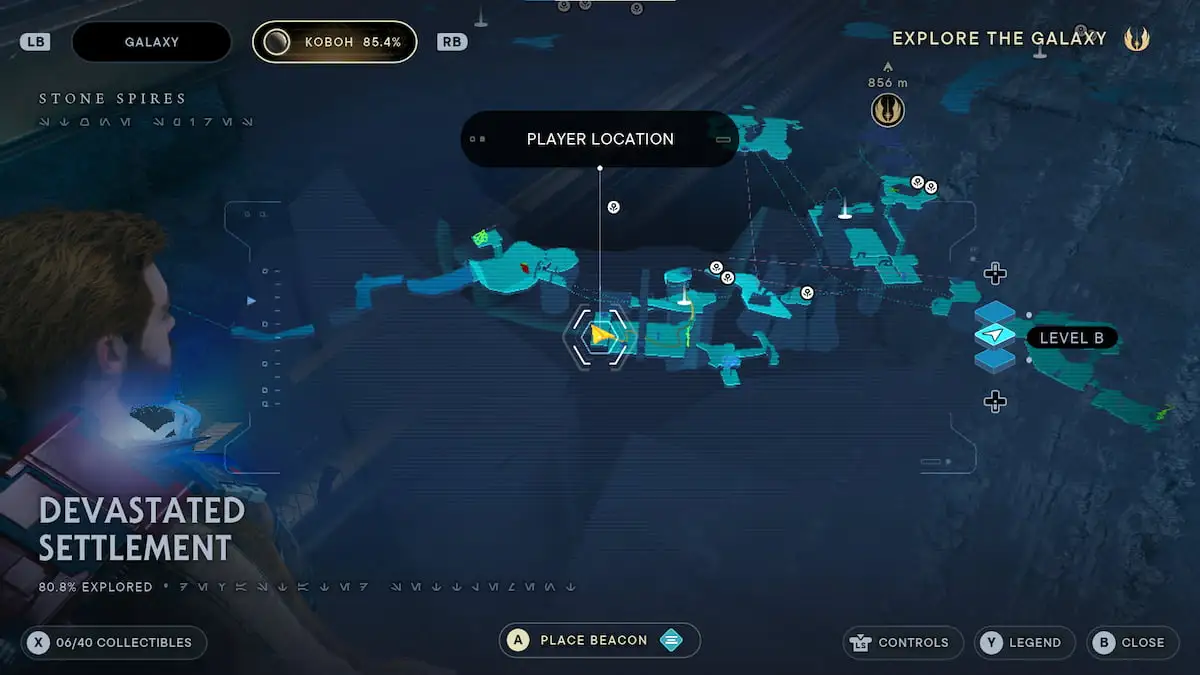
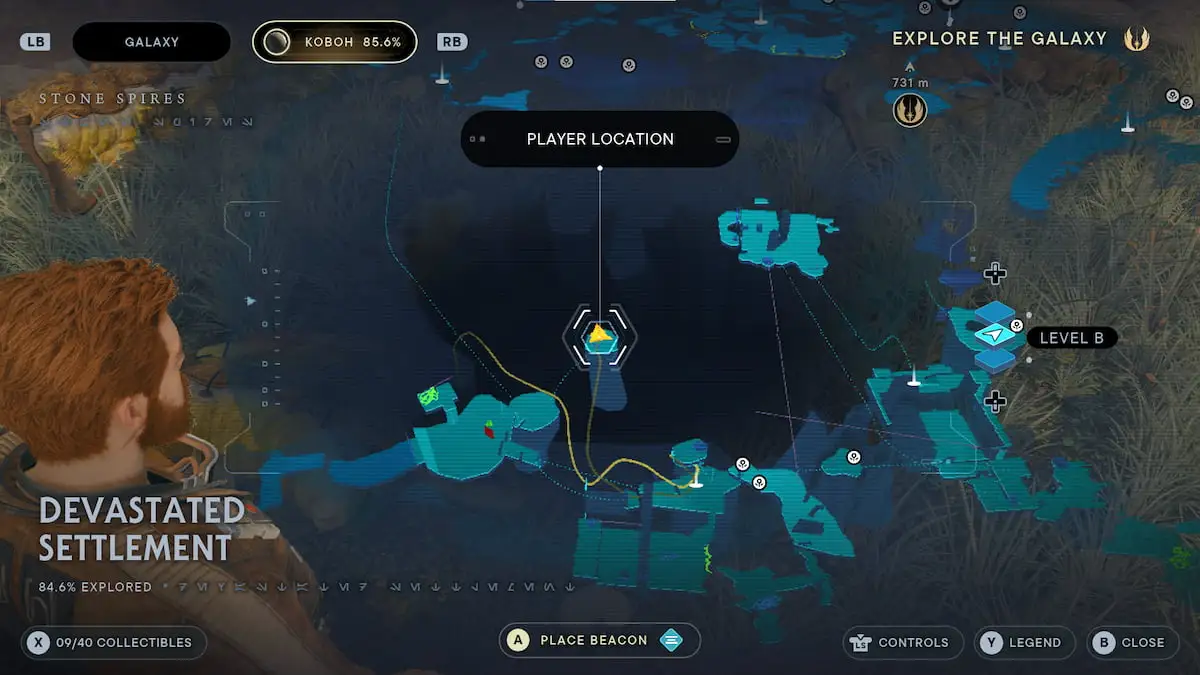
The place to Discover Each Devastated Settlement Collectible in Jedi: Survivor
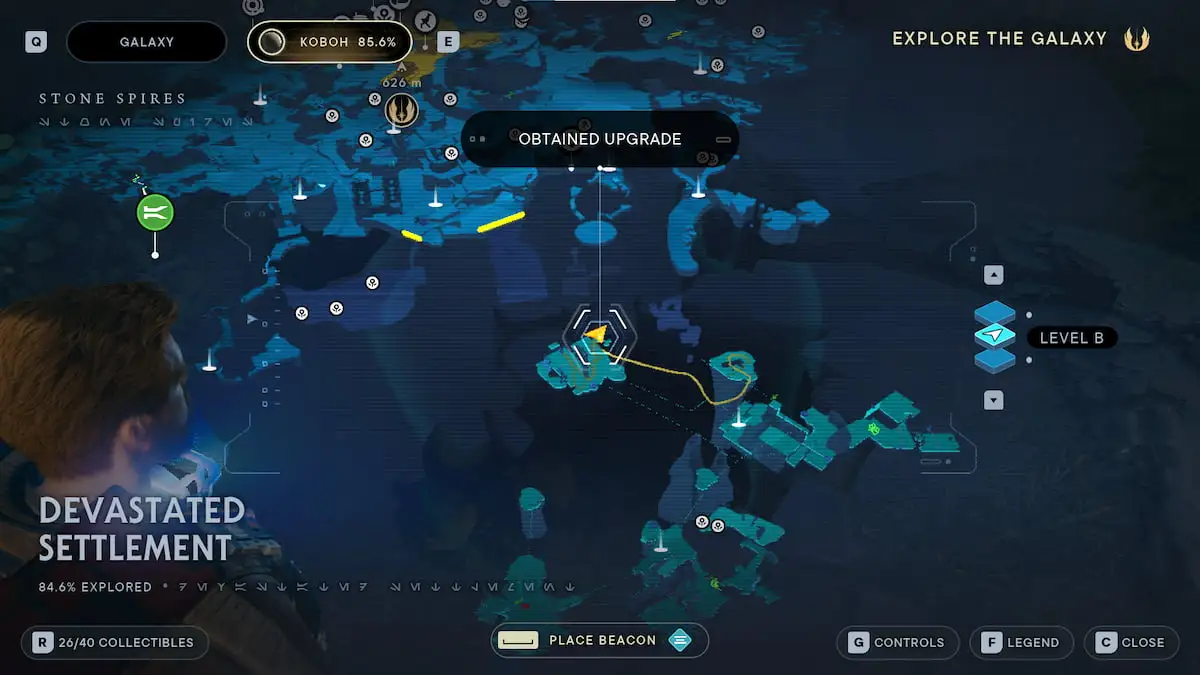
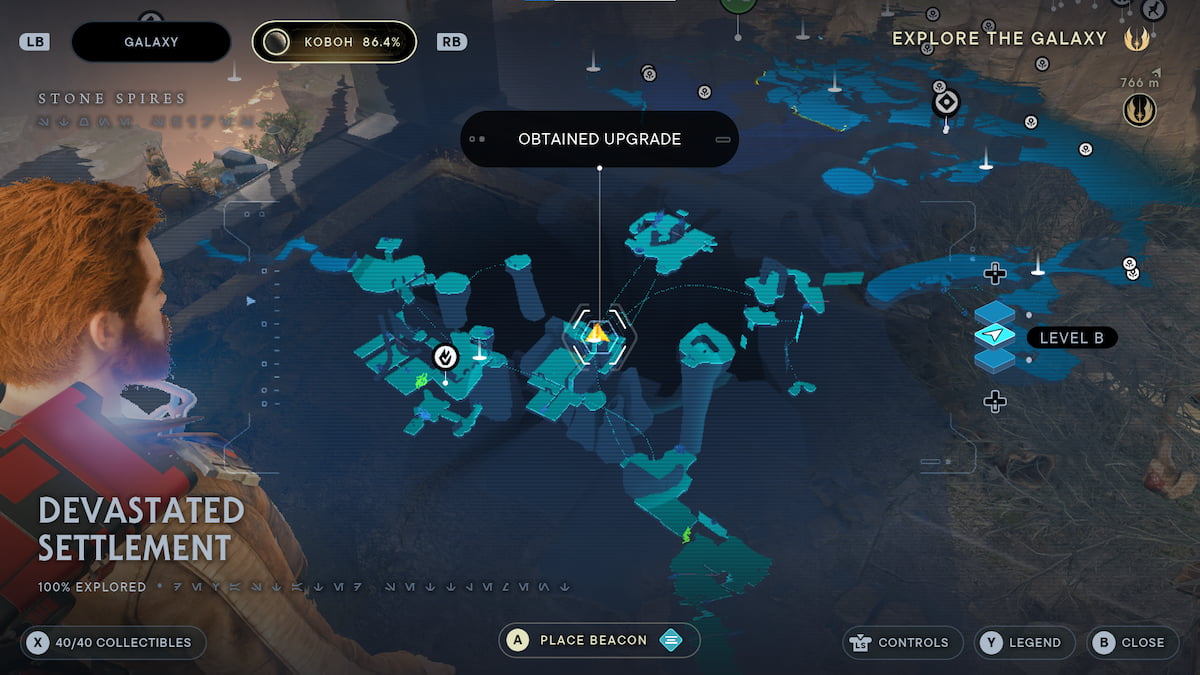
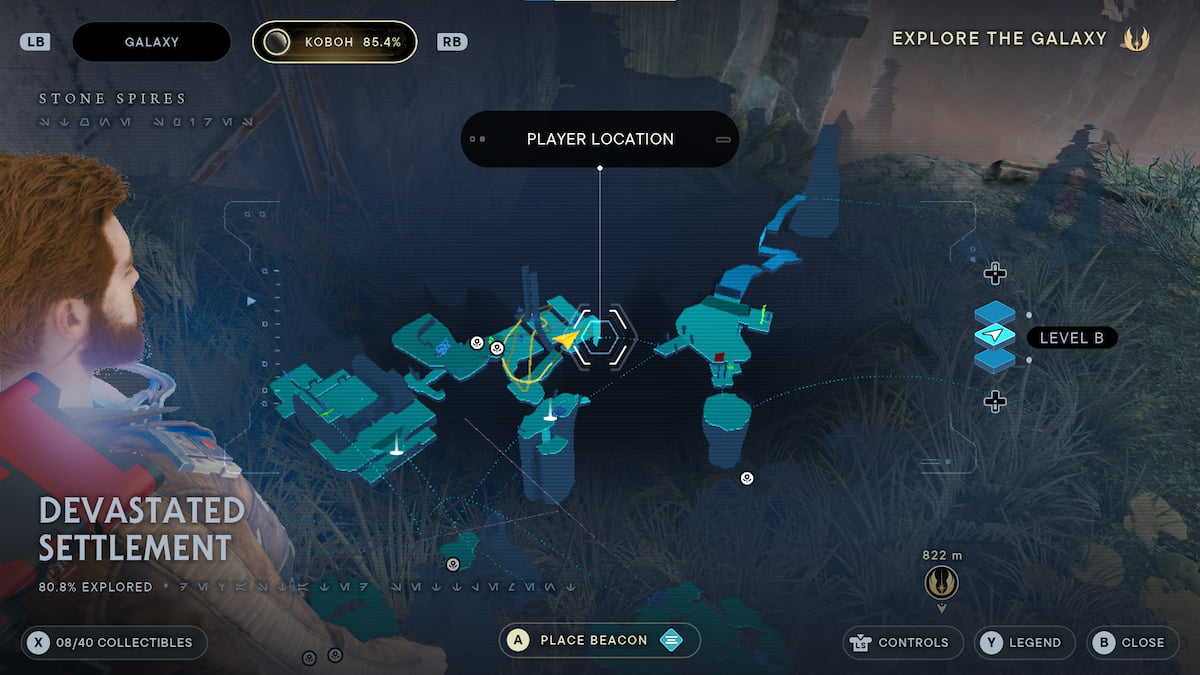
There are 40 Collectibles within the Devastated Settlement area. Yow will discover these whereas exploring Koboh throughout your Jedi: Survivor playthrough. That is near one of many different huge areas on the planet, the Derelict Dam, which has a large quantity of collectibles so that you can monitor down.
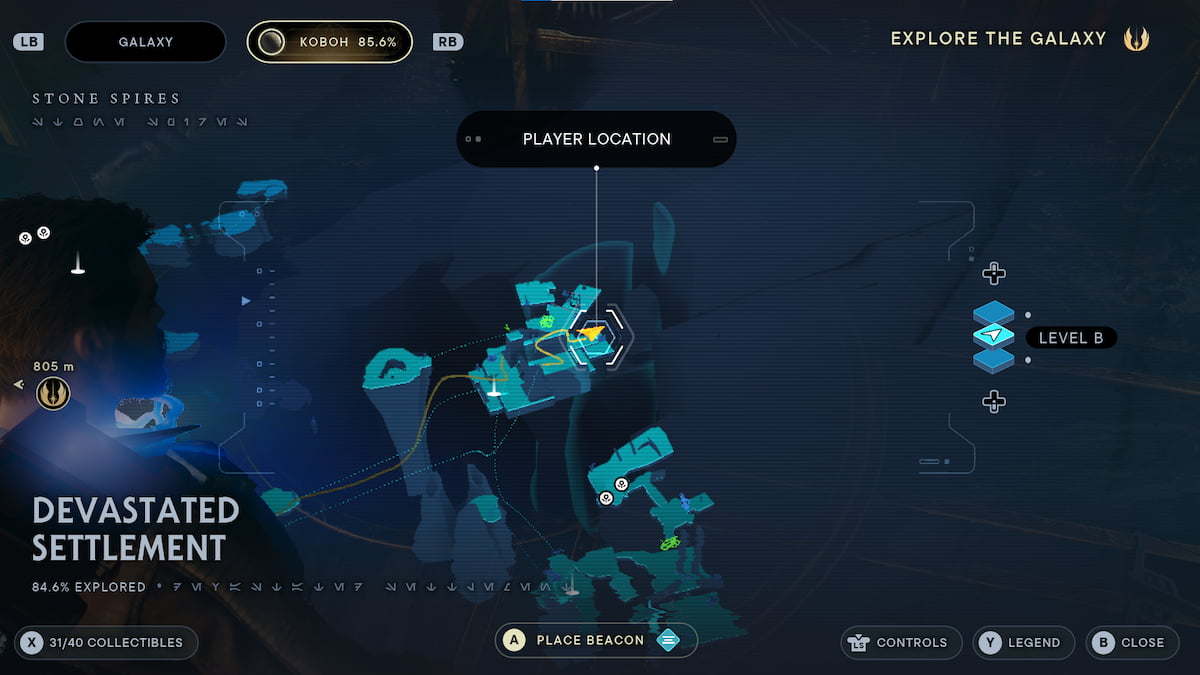
The Devastated Settlement is a location you seemingly received’t discover till you get nearer to the center of the sport, and even then, you’ll wish to return if you purchase extra talents by finishing the sport. This walkthrough information for Jedi: Survivor ought to make discovering the collectibles within the Devastated Settlement simpler.
I discovered it a lot simpler to take this space in chunks, breaking it down by the rewards I wished to unlock in my playthrough. It was simpler for me to take a look at this complete space, moderately than doing it unexpectedly, much like the Derelict Dam.
You have to to trace down six classes of collectibles within the Devastated Settlement. One can find: Chests, Databank entries, Drive Essences, Drive Tears, Seed Pods, and Treasures.
All Devastated Settlement Chest places in Jedi: Survivor
Yow will discover three chests within the Devastated Settlement in Jedi: Survivor. These chests comprise several types of gadgets, from Stim Caninsters to cosmetics.
| Chest Areas | Chest Assortment | Description | Rewards |
 |
Chest Location 1 | You may attain this Chest by taking the Relter to the left of the primary chamber and flying throughout the Devastated Settlement. Earlier than you attain the rock formation, leap from the Relter and sprint to the ledge. | Lightsaber Change Concord |
 |
Chest Location 2 | The second Chest is more durable to search out. You’ll discover it at one of many taller rock formations, and you may attain it utilizing a Relter to glide into the steam geysers to achieve it. The Chest will likely be on the backside of the water. | Weapon Supplies: Laborious Leather-based |
 |
Chest Location 3 | The ultimate Chest will likely be near the highest of the Devastated Settlement. Take the Relter on the Grand Courtyard, and produce it to the suitable, going over the center rocky space, and to the cliffs on the suitable aspect. Once you attain this space, you may slide by way of a small rock space and a few ledges to leap down. Make your means down these ledges, and use your grapple to achieve the suitable aspect. The Chest will likely be on the finish of this space. | Cal’s Full Goatee and Mustache |
All Devastated Settlement Databank Areas in Jedi: Survivor
There will likely be 15 Databank entries so that you can discover within the Devastated Settlement in Jedi: Survivor. Databank are collectables which are cut up into scannable objects and drive echos. They are going to unlock details about planets, characters, factions, and extra. You may examine the knowledge unlocked in your Databank tab.
| Databank Location | Databank Assortment | Description |
 |
Databank Location 1 | Yow will discover the primary Databank location within the Devastated Settlement by heading into the higher chamber subsequent to the Meditation Level and slipping by way of the partitions. You’ll discover it within the higher space. |
 |
Databank Location 2 | There will likely be a Databank entry so that you can accumulate within the decrease ruins, nearer to the doorway of the Devastated Settlement. You may attain this space by leaping down from the doorway platform on the left aspect. |
 |
Databank Location 3 | There’s one other Databank entry near the doorway of the Devastated Settlement. Yow will discover it within the higher chamber, near the big Inexperienced Protect Door generally seen in Jedi: Survivor and over by the Gorroco. |
 |
Databank Location 4 | Once you attain the decrease, heart rock formation in the midst of the Devastated Settlement, you will discover a geyser of air that BD-1 will wish to scan. |
 |
Databank Location 5 | There’s a Databank entry so that you can scan on the second rock formation, which you’ll attain from the Relter on the Jedi: Survivor Meditation Level utilizing the geysers of scorching air. |
 |
Databank Location 6 | Contained in the second chamber, throughout from the bigger hole, is one other Databank entry within the type of a Drive Echo. You may attain it by operating on the wall to your left, and crossing the way in which. |
 |
Databank Location 7 | This Databank entry will likely be within the type of a Drive Echo, and you will discover it subsequent to the Koboh Laser on the prime of the ledge, the place you’ll discover the third chamber on this area earlier than you attain the highest of the Devastated Settlement in Jedi: Survivor. |
 |
Databank Location 8 | For the subsequent Databank entry, you’ll must entry the Drive Essence at this location and bypass the Koboh Matter. When you’ve performed that, you will discover it to the suitable of that Drive Essence. |
 |
Databank Location 9 | Yow will discover a Databank entry on the heart of the Grand Courtyard in Jedi: Survivor, on the left aspect of the coaching space. |
 |
Databank Location 10 | There will likely be a Databank entry on the surface of the Grand Courtyard space that you may scan. Wiggle alongside the aspect of the home to search out it, on the left aspect. |
 |
Databank Location 11 | Contained in the constructing on the Grand Courtyard, if you attain the highest and leap down into it, there’s a Drive Echo that you will discover on the left aspect. |
 |
Databank Location 12 | Whereas exploring the hallways within the Grand Courtyard constructing, there will likely be a number of damaged cabinets on the bottom. BD-1 will scan this and present that you may’t discover a means ahead from this location. |
 |
Databank Location 13 | There’s a Databank entry you will want to search out contained in the Grand Courtyard that is part of the Jedi: Survivor primary story, and there may be nothing you may miss. |
 |
Databank Location 14 | Additional into the constructing on the Grand Courtyard, within the again, there may be an object BD-1 can scan that’s sitting on the bookshelves. |
 |
Databank Location 15 | This Databank entry will likely be near the underside of the Devastated Settlement. You may attain this space by heading to the Grand Courtyard and taking the Relter right down to the left aspect. There will likely be a small cavern you may discover on this space, and the Databank will likely be a scannable wall that BD-1 can look over. |
All Devastated Settlement Drive Essence Areas in Jedi: Survivor
There are 5 Drive Essences so that you can find within the Devastated Settlement in Jedi: Survivor. Drive Essences make Cal extra highly effective by rising his Most Well being or granting Perks and Drive Factors.
| Drive Essence Location | Drive Essence Assortment | Description | Rewards |
 |
Drive Essence Location 1 | Yow will discover this Drive Essence contained in the second chamber, after you cross the Devastated Settlement hole. Will probably be contained in the chamber, on the far aspect, near Databank location 6 whereas taking part in Jedi: Survivor. | Drive Factors enhance |
 |
Drive Essence Location 2 | There will likely be a Drive Essence nearer to the beginning of the Devastated Settlement. You’ll must seize the Koboh Orb from this space, convey it right down to the primary enviornment, after which drag it to the aspect, the place you’ll find the decrease ruins with a Databank entry. Drop it down, and observe it, and produce it into the Koboh Conduit on the heart of the room. This can reveal a hidden room with the Drive Essence inside it. | Precision Perk |
 |
Drive Essence Location 3 | This Drive Essence is on the market on the finish of the Devastated Settlement, within the third space. Yow will discover it by reaching the third chamber and putting the Koboh Orb contained in the conduit, near the waterfall. It is going to fireplace out a Koboh Laser outdoors of the chamber, and you should utilize BD-1’s Koboh Grinder to create a path to the close by Koboh Matter blocking your path, revealing the Drive Essence and increasing your stats in Jedi: Survivor. | Well being Enhance |
 |
Drive Essence Location 4 | The subsequent Drive Essence is on the prime of the Grand Courtyard constructing. Head again inside, and go into the coaching grounds on the heart. You must discover a rope that may take you to the roof, after which flip to the left to leap up onto the vines. This can take you to the part of a destroyed tower, and the Drive Essence will likely be up there. | Marksmanship Perk |
 |
Drive Essence Location 5 | The ultimate Drive Essence is for the Excessive Republic Chamber of Ambidexterity. You may unlock this space by aiming the Koboh Laser from the third settlement down into this chamber, from throughout the complete Devastated Settlement. After you’ve lined it up, return to the chamber and use BD-1’s Koboh Grinder to gentle a hearth from the Koboh Laser to the Koboh matter, and unlock the chamber. | Ambidexterity Perk |
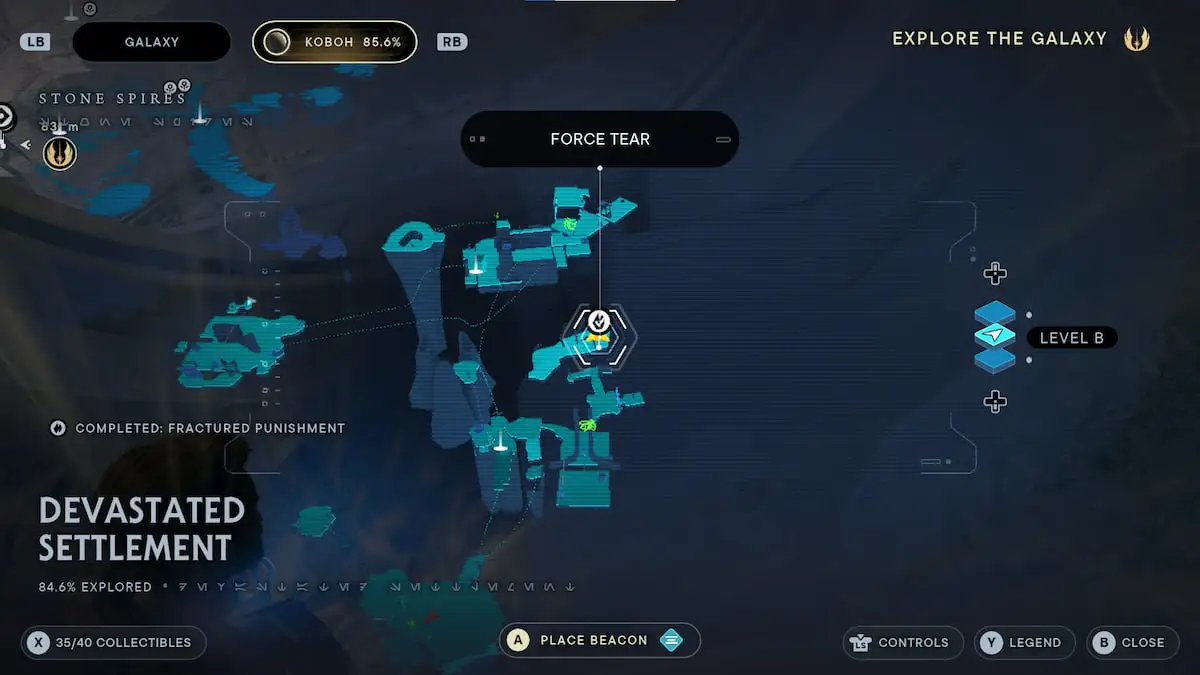
All Devastated Settlement Drive Tear Areas in Jedi: Survivor
You solely want to search out one Drive Tear within the Devastated Settlement in Jedi: Survivor. Drive Tears work as problem rooms for gamers who wish to teste their expertise and enhance the entire variety of Talent Factors they’ve. Completeting every problem awards gamers with a Talent Level. The challenges fluctuate from platforming sections to fight encounters.
| Drive Tear Location | Drive Tear Assortment | Description | Rewards |
 |
Drive Tear Location 1 | Yow will discover this Drive Tear on the prime of the Devastated Settlement. You may monitor it down by reaching the Grand Courtyard, taking the Relter from this location to the left, and flying to the rocks, with the Jedi Chamber damaged dice on the prime. A Jedi: Survivor Drive Tear will likely be inside it. | Talent Level |
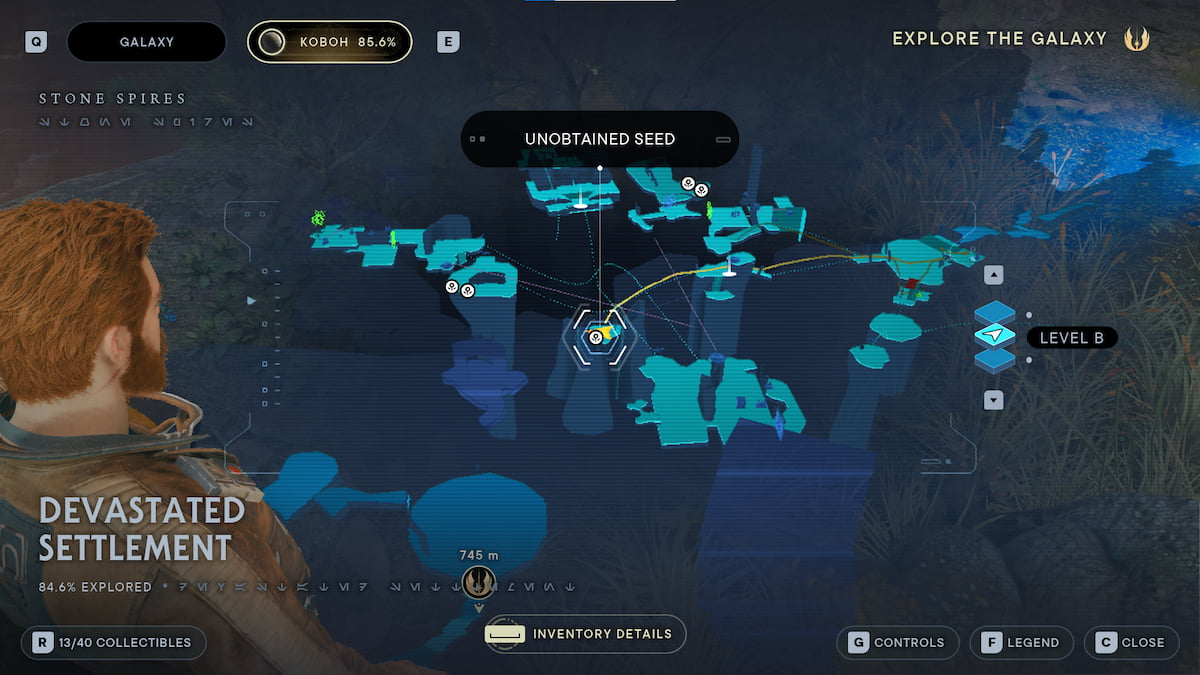
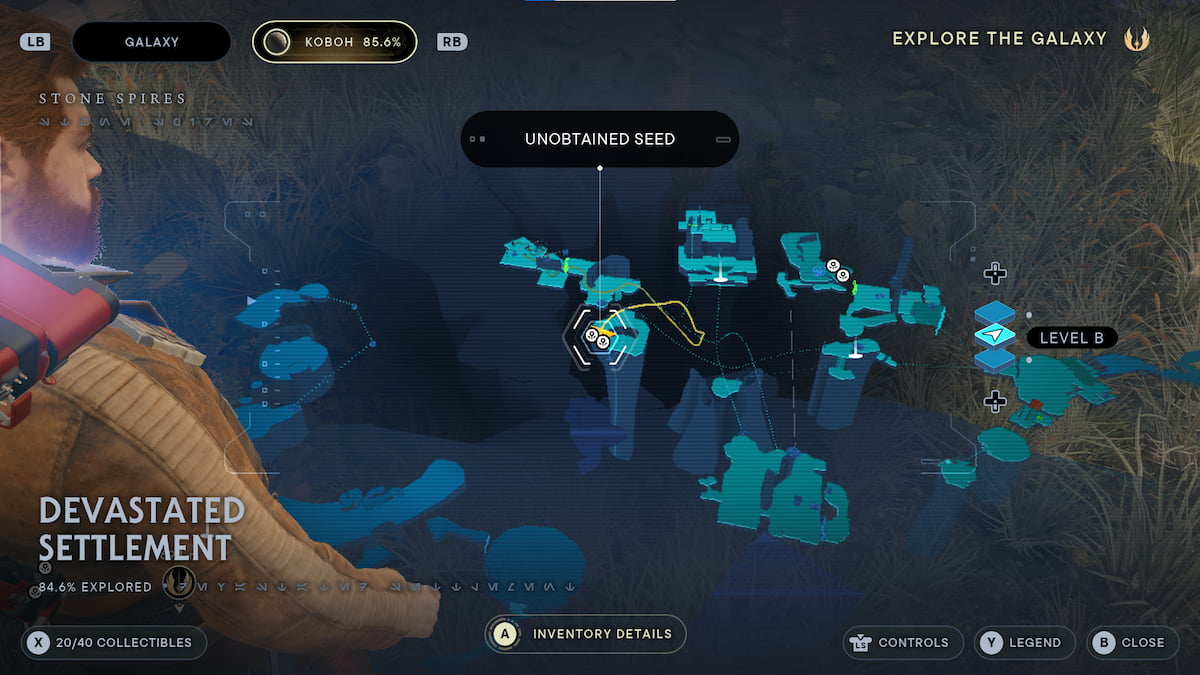
All Devastated Settlement Seed Pod Areas in Jedi: Survivor
There are seven Seed Pods so that you can find within the Devastated Settlement in Jedi: Survivor. Gamers inquisitive about unlocking the Development Spurt achievement should discover all of them. You may plant these seeds within the Cantina Backyard.
| Seed Pod Location | Seed Pod Assortment | Description |
 |
Seed Pod Location 1 | Yow will discover this Seed Pod cluster to the left of the Meditation Level, on the decrease cliffs. You may safely drop right down to this location. |
 |
Seed Pod Location 2 | This Seed Pod location is additional out within the Devastated Settlement. It is advisable use the Relter near the primary chamber and ensure to leap off it earlier than reaching the rock formation to climb onto the ledge. |
|
Seed Pod Location 3 | Yow will discover one other Seed Pod near the decrease rock formation in the midst of the Devastated Settlement. You may attain it by taking the Relter that’s in entrance of the Meditation Level. |
 |
Seed Pod Areas 4 and 5 | There are two Seed Pods you will discover on the heart island within the Devastated Settlement, they usually’ll be near the Scavenger Droid. |
 |
Seed Pod Areas 6 and seven | Yow will discover two Seed Pods to the left of the Grand Courtyard. You have to to take the Relter from this platform and switch it to the left to achieve this location. |
All Devastated Settlement Treasure Areas in Jedi: Survivor
The Devastated Settlement has 9 treasures you have to discover in Jedi: Survivor. Treasures might be Priotite Shards, Scrolls, and even Datadiscs. You may commerce them for beauty gadgets and perks at sure distributors.
| Treasure Location | Treasure Assortment | Description | Rewards |
 |
Treasure Location 1 | This Treasure will likely be inside the primary chamber within the Devastated Settlement. You’ll must seize the orb from the Koboh Laser and produce it into the chamber. Connect it to the conduit on the left aspect, and undergo the wall. Use the cub to achieve the second degree subsequent to the orb and toss it to the conduit that fires the Koboh Laser. Return to the center of the room, use Drive Push on the spinner on the suitable aspect, and produce the Koboh Laser to the far proper of the room. You then want to make use of BD-1’s Koboh Grinder on the wall and burn away the Koboh Matter to earn the Treasure. | Datadisk |
 |
Treasure Location 2 | The second Treasure is to the left of the primary one. It is advisable step outdoors and observe the pathway in direction of the waterfall. You’ll see a Retler you may fly close by after which a wall you may scale. Run throughout the wall, after which drop down the second wall, and attain the underside. You’ll accumulate Treasure if you return, otherwise you respawn after falling. | Datadisk |
 |
Treasure Location 3 | One can find the Treasure nearer to the doorway of the Devastated Settlement. Will probably be subsequent to a Koboh Laser that you have to use BD-1’s Koboh Grinder on to destroy the Koboh Matter wall blocking your path. | Datadisk |
|
Treasure Location 4 | Deeper within the Devastated Settlement, you may take a Relter instantly in entrance of the Meditation Level to a central rock formation, and it’ll have a Treasure on the bottom. | Datadisk |
 |
Treasure Location 5 | Within the second chamber of the Devastated Settlement, you’ll want to achieve the again space. This ought to be uncovered after you burn away the Koboh Matter. Bounce by way of the waterfall, and there will likely be one other Koboh Laser that you should utilize BD-1’s Koboh Grinder on to hook up with the Koboh Matter within the room and reveal the Treasure. | Datadisk |
 |
Treasure Location 6 | There’s a second Treasure within the second chamber of the Devastated Settlement. You have to to convey the Koboh Orb from the laser on the entrance of the world, and Drive Pull it to the ruins on the heart and fasten it to the laser on the backside. As soon as there, use BD-1’s Koboh Grinder to attach it to the underside of the doorway, and also you’ll destroy a Koboh Matter space defending the Treasure. | Datadisk |
|
Treasure Location 7 | Yow will discover the subsequent Treasure by climbing the tallest rock within the Devastated Settlement. You may attain this location through the use of the 2 geysers on the heart, and using a Relter. Once you attain the highest, there’s a Scavenger Droid witTreasureeasure in hand. | Datadisk |
 |
Treasure Location 8 | Within the third chamber, near the highest of the Devastated Settlement, you will discover thisTreasureeasure inside this chamber. Will probably be hidden within the wall behind the big dice it’s important to use Drive Pull on to finish the world’s puzzle. You may attain this space by leaping on prime of the dice, and leaping into this space. | Datadisk |
 |
Treasure Location 9 | The ultimate Treasure is accessible by reaching the Grand Courtyard. Head to the highest of the Devastated Settlement, after which take the Retler right down to the small cavern beneath the Drive Tear. Once you attain this space, the Treasure will likely be at the back of this room, on the suitable aspect. | Datadisk |
And that’s it! Take a look at our different Star Wars Jedi: Survivor guides beneath so that you don’t miss any hidden secrets and techniques in your journey.
Jedi: Survivor Walkthrough | All Koboh Collectibles & The place to Discover Them | All Talents & Learn how to Unlock Them | All Lightsaber Stances & How They Work | How Gamers Can Customise Lightsabers | Learn how to Discover T-1N8 | Learn how to Assist the Pit Droid with its Caught Ship | All Chests & Rewards Gamers Can Discover with T-1N8
https://www.gamepur.com/guides/star-wars-jedi-survivor-all-devastated-settlement-collectibles-guide-walkthrough-where-to-find-them